Edit a group in Mass Mailing News |
  
|
Edit a group in Mass Mailing News |
|
To create contact groups, first, you need to open the “Contact form” dialog box. You can directly access this dialog box by clicking on the “Add” button. You can also access it from the taskbar by clicking on the “Contacts” menu, and then select “Add a new contact”. The “Contact form” dialog box will be displayed automatically. In the “Group” field, click on “Add and Edit contact group”. The “Contact groups” dialog box will be displayed automatically.
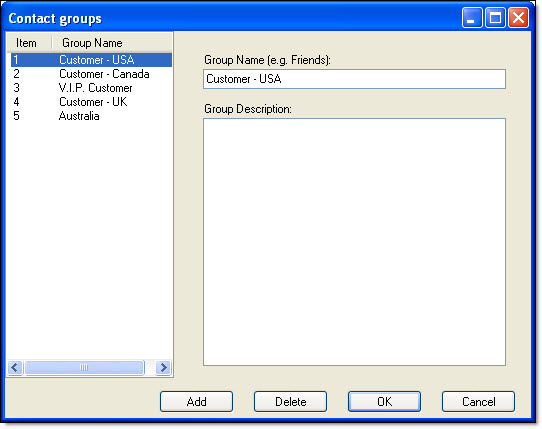
To edit the name of your first group, click on the “Add” button and then enter the name of the group in the field “Group Name” (e.g.: Montreal Clients). You can also enter a brief description of the group (optional). To enter more than one name, you need to click on the “Add” button. After entering the names of your groups, click on the “Ok” button to close the dialog box and to save the data.
To delete the name of a group, select the group and click on “Delete”.
To cancel, click on “Cancel”. If you click on cancel, the dialog box will be closed and your data will not be saved.
After adding new groups, you will be able to view them on the “Group” field from the “Contact form” dialog box.
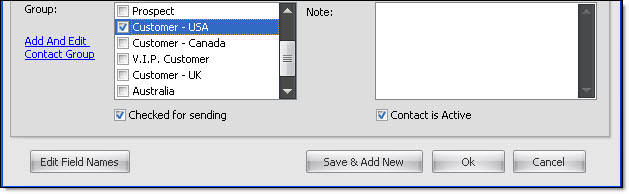
It is important to group your contacts because you could regroup your emails by groups and send your campaigns to these groups.